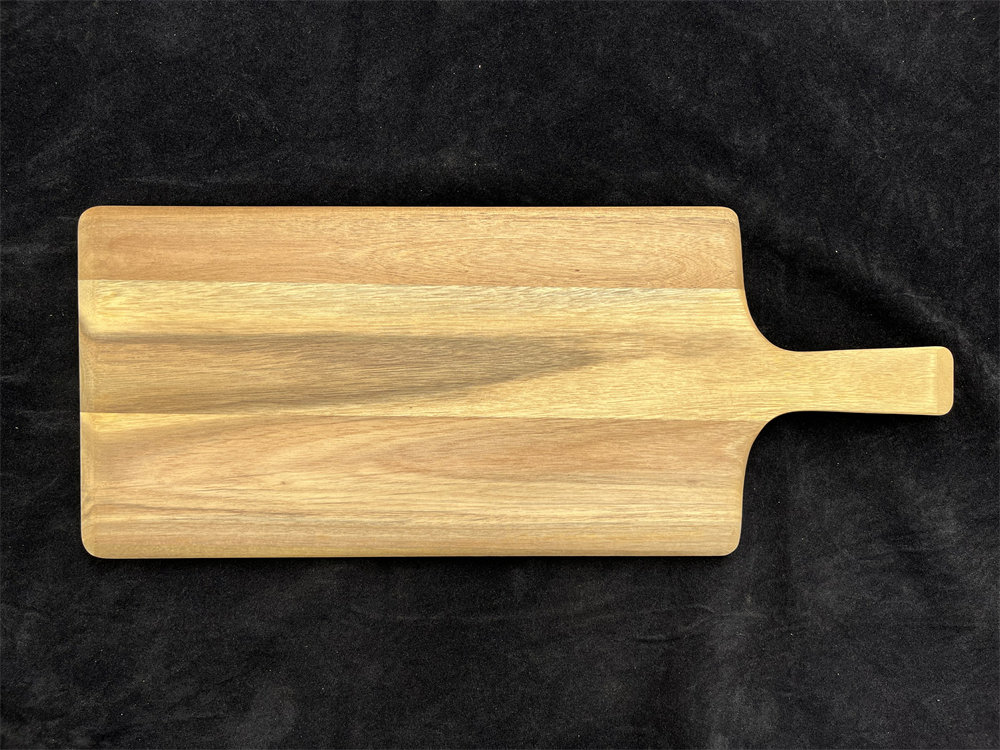
Heavy use, age, and cracks can cause your once-preferred Wooden Cutting Boards to become dull and have minimal sheen. If you have an attachment to your wooden cutting board, do not replace it! Instead, with a series of easy-to-follow steps, you can bring life back to your cutting board. In this article you will discover how to restore a cutting board while also ensuring it remains in the perfect state.

Step 1 Clean Thoroughly
In order to get rid of any leftover food remains from the last food prep, or wipes the stains around the surfaces of the cutting board, you need to wash it thoroughly. Grab mild dish soap, a soft sponge, and warm water in order to wash the surfaces. Do not soak it in water because that may warp the board. For the molds which won’t lower, try washing by sprinkling coarse salt or baking soda on them, and scrubbing them with half a lemon. Thoroughly rinse and dry the board with a towel.
Step 2 Sand Off Defects
After the board is completely dry, look for knife cuts, scratches, or rough spots. Sand the surface using either a coarse sanding paper or a rougher grade first (80-100 grit) to sand down the deeper grooves. After this, finer grades may be employed such as 220 grit to give a nice smooth finish to the surface eventually. In order to make sure that the best results are achieved, always ensure to sand in the direction of the wood grain.
Step 3 Sterilize Bacteria
It is crucial to make sure that your cutting board is safe for food after sanding hence the need of sterilizing it as well. Wipe the board with such a mix of a portion of white vinegar and four parts of water. Besides, you could also add some hydrogen peroxide for improved anti-bacterial durability. After applying the solution, wipe it with a clean damp cloth after a few minutes.
Step 4 Condition with Mineral Oil
Replenishing moisture is important for preventing cracking and increasing the wood’s lifespan. The wooden cutting board should be treated using food-grade mineral oil which is harmless for humans. Start by using clean cloth or a paper towel to soak the oil up and massage it into the wood grain. After that, wipe the board with excess oil and leave it for up to the whole night.
Step 5 Optional Wax Finish
Place a beeswax layer or a wax-containing cutting board conditioner on top of the basic surface as an added measure. That makes it hard for dirt and oil to adhere to the board's surface and increases its shine. A little amount will do, rub it in a circle motion and finish it off with a soft cloth.
Step 6 Regular Maintenance
To prevent the board from drying you should be oiling it every month or whenever you notice it becoming dry. It is not advisable to put the board in the dishwasher nor expose it to extreme heat or humidity.
Conclusion
Once again, this touches upon the aspect of wood maintenance. During this process, it is important to mention that the reason for restoring a wooden cutting board is simple, it helps maintain its reliability for years. No matter how tarnished and worn out your board feels, all it needs is a proper care and maintenance. With a little care, be it enhancing its beauty or functionality, a cutting board can be made to last in its prime.